
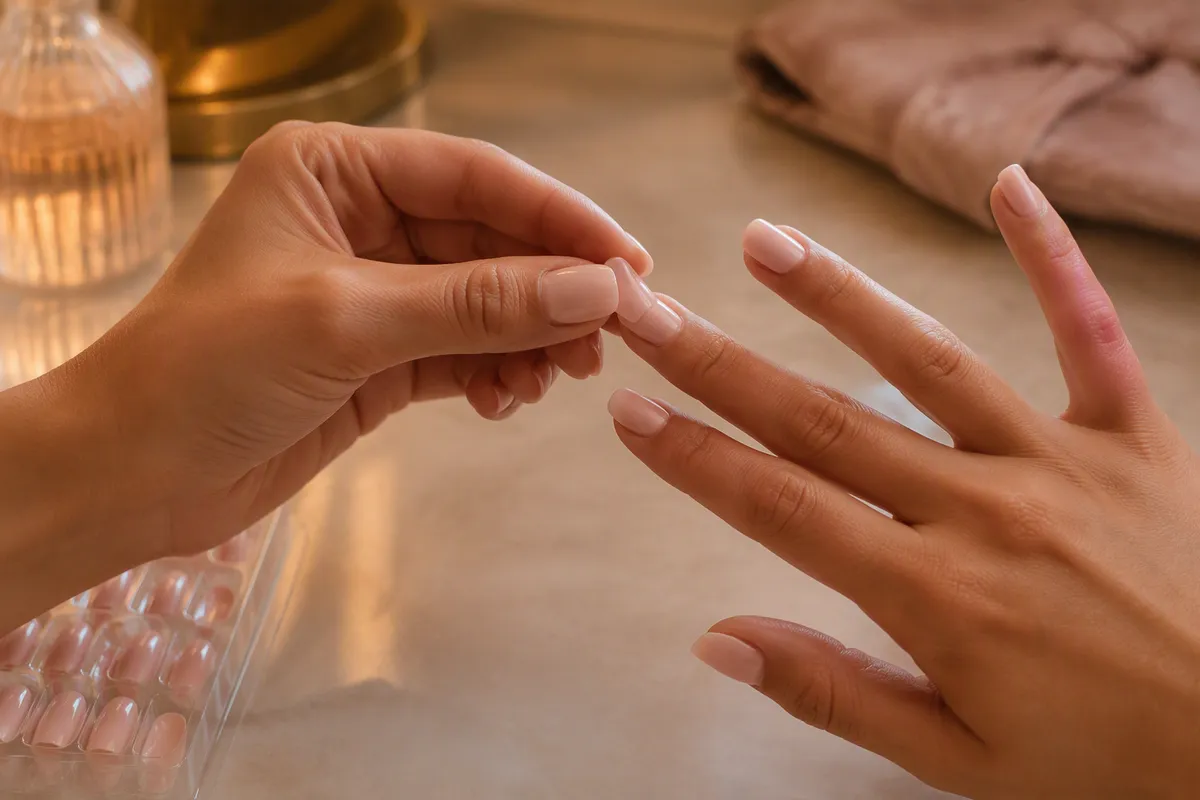
Why a good application guide matters
The difference between a 5-star review and a returned box is often just clear instructions. Share these steps with your customers to improve satisfaction and reduce complaints.
Step 1: Prep the natural nail
Wash hands, push back cuticles, and wipe each nail with the included prep wipe to remove oil. Adhesion fails on oily nails.
Step 2: Size each nail
Match a press-on nail to each natural nail. The press-on should cover the nail bed without pressing into the skin.
Step 3: Apply the adhesive
Use the double-sided adhesive tab or jelly gel sticker for temporary wear, or nail glue for longer wear. Press firmly for 30 seconds.
Step 4: File and shape
File the tips to your preferred length and shape. This customizes the fit and removes sharp edges.
Step 5: Care and removal
Avoid water for the first hour. To remove, soak in warm soapy water and gently lift from the sides - never pull.
Well-informed customers become repeat buyers. Stock PAMMDI press-on nails and hand this guide to your team and customers to build loyalty.